Cellular Automata in Earth Engine
Cellular automata are a type of computer program that can create complex, emergent behavior by applying simple rules to determine the state of cells on a grid over time. The typical cellular automaton works something like this:
- Create a 2D array of cells and assign a random state (e.g. alive/dead) to each cell in the array.
- Determine the next state of each cell based on its current state, the states of the cells around it, and a fixed set of rules.
- Set each cell to its new state. Repeat steps 2 and 3.
A 2D array of cell states sounds a lot like a classified image, so let’s see what it would take to implement a cellular automaton in Earth Engine.

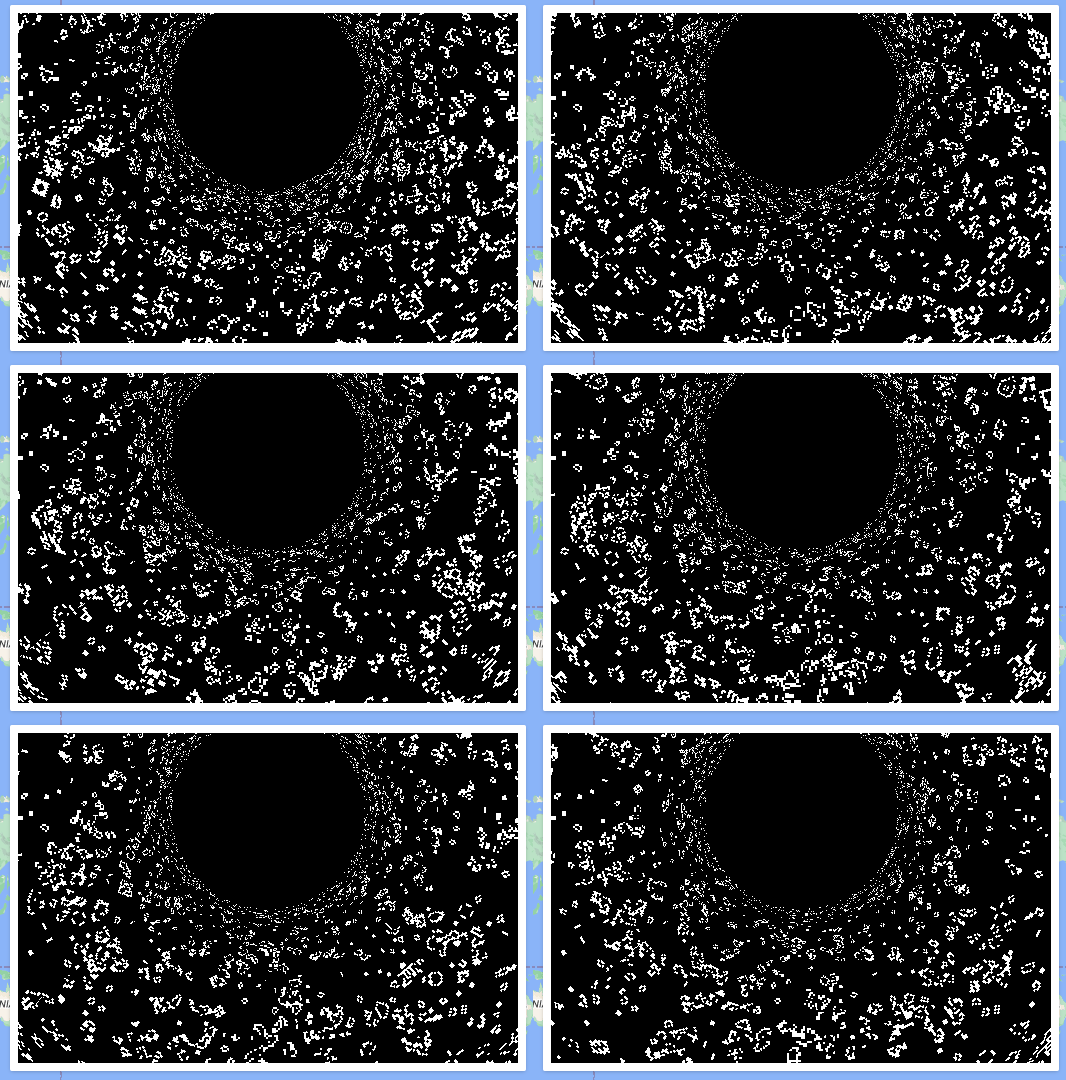
Conways Game of Life in a conic equal-area projection.
Conway’s Game of Life
The most famous cellular automaton is Conway’s Game of Life, which follows these three rules:
- Cells can be alive or dead.
- Live cells with two or three live neighbours survive. All others die.
- Dead cells with three live neighbours are “born” and become a live cell. The rest stay dead.
Using the steps we defined above and this set of rules, let’s implement Game of Life in Earth Engine.
Step 1: Set The Initial State
The first thing we’ll need is an image representing our initial state with live and dead cells. Since we’re in Earth Engine, we could use real world data to set the initial state, but let’s make things simple and just use random noise.
The ee.Image.random constructor creates an image with float values between 0 and 1. We need integer values of 0 (dead) and 1 (alive), so we’ll multiply by 2 and cast to byte to round those values to 0 or 1.
// Create the initial random state
var state = ee.Image.random().multiply(2).byte();
One quirk of implementing cellular automata in Earth Engine is that the dynamic, zoom-based reprojection makes it hard to get nice, visible cells. We’ll need to force a projection.
The built-in map uses Web Mercator (EPSG:3857), so we’ll use that to get square pixels. The scale doesn’t matter, just as long as you zoom in to a reasonable level.
// Choose a projection for the simulation
var PROJ = ee.Projection("EPSG:3857").atScale(100000);
state = state.reproject(PROJ);
Step 2: Determine the Next State
To decide the next state, each cell needs to know how many live and dead neighbours it has. We’ll use reduceNeighborhood to run a 3x3 kernel over each cell. Since live cells have a value of 1 and dead cells have a value of 0, summing the eight neighbouring cells will give us the number of live neighbours.
Let’s define a kernel that equally weights the neighbours while ignoring the center center cell to avoid self-counting.
// Create a kernel for counting each cell's neighbours
var KERNEL = ee.Kernel.fixed({
    weights: [
        [1, 1, 1],
        [1, 0, 1],
        [1, 1, 1]
    ]
});
Now we’ll apply reduceNeighborhood with that kernel and a sum reducer.
// Count each cell's live neighbours by summing their values
var neighbours = state.reduceNeighborhood({
    kernel: KERNEL,
    reducer: ee.Reducer.sum()
});
Finally, we’ll create a new image by comparing the current cell states and the neighbour counts to our ruleset we outlined earlier.
// Assign some constants to make the rules more readable
var DEAD = 0;
var ALIVE = 1;

// Assume dead cells and check the rules that create living cells
var next = ee.Image.constant(DEAD)
    // Living cells with 2 neighbours remain alive
    .where(neighbours.eq(2).and(state.eq(ALIVE)), ALIVE)
    // All cells with 3 neighbours remain or become alive
    .where(neighbours.eq(3), ALIVE)
    // Re-define the projection
    .reproject(PROJ);
Combining those steps gives us the following function that takes a state image and returns the next state.
/**
 * Apply Game of Life rules to create a new state from an existing one.
 *
 * @param {ee.Image} state The existing state to evolve from.
 * @returns {ee.Image} The next state.
 */
function getNextState(state) {
    var neighbours = state.reduceNeighborhood({
        kernel: KERNEL,
        reducer: ee.Reducer.sum()
    });

    // Assume dead cells and check the rules that create living cells
    var next = ee.Image.constant(DEAD)
        // Living cells with 2 neighbours remain alive
        .where(neighbours.eq(2).and(state.eq(ALIVE)), ALIVE)
        // All cells with 3 neighbours remain or become alive
        .where(neighbours.eq(3), ALIVE)
        // Re-define the projection
        .reproject(PROJ);

    return next;
}
Step 3: Set the State and Repeat
We have all the code we need to run one step of the Game of Life, but things really only get interesting when you can see the game evolve over many generations. Let add a loop that repeats Step 2, storing an array of state images, and combining them into a collection for visualizing later.
// Create an empty array to store all the states
var states = [];
for (var i=0; i<100; i++) {
    // Replace the current state with the new state
    var state = getNextState(state);
    states.push(state);
}

// Turn the array of state images into a collection
var col = ee.ImageCollection(states);
All that’s left now is to visualize how our states change over time.
// Set up the GIF parameters. Make sure to create a `geometry` polygon that covers a large enough area to grab a reasonable number of pixels.
var gifParams = {
  region: geometry,
  dimensions: 500,
  framesPerSecond: 12,
  crs: "EPSG:3857"
};

// Create the animated thumbnail
var thumb = ui.Thumbnail({
  image: col,
  params: gifParams
});

// Add the GIF to the map
Map.add(thumb);
Putting it All Together
With a little bit of clean-up, here’s the final code for running Game of Life in Earth Engine:
var DEAD = 0;
var ALIVE = 1;
var PROJ = ee.Projection("EPSG:3857").atScale(100000);
var KERNEL = ee.Kernel.fixed({
    weights: [
        [1, 1, 1],
        [1, 0, 1],
        [1, 1, 1]
    ]
});


/**
 * Apply Game of Life rules to create a new state from an existing one.
 *
 * @param {ee.Image} state The existing state to evolve from.
 * @returns {ee.Image} The next state.
 */
function getNextState(state) {
    var neighbours = state.reduceNeighborhood({
        kernel: KERNEL,
        reducer: ee.Reducer.sum()
    });

    // Assume dead cells and check the rules that create living cells
    var next = ee.Image.constant(DEAD)
        // Living cells with 2 neighbours remain alive
        .where(neighbours.eq(2).and(state.eq(ALIVE)), ALIVE)
        // All cells with 3 neighbours remain or become alive
        .where(neighbours.eq(3), ALIVE)
        // Re-define the projection
        .reproject(PROJ);

    return next;
}

/**
 * Run Conway's Game of Life for a defined number of time steps.
 *
 * @param {Number} steps The number of time steps to run.
 * @returns {ee.ImageCollection} The states through time.
 */
function runGameOfLife(steps) {
  // Create the initial random state
  var state = ee.Image.random().multiply(2).byte().reproject(PROJ);

  // Create an empty array to store all the states
  var states = [];
  for (var i=0; i<steps; i++) {
      // Replace the current state with the new state
      state = getNextState(state);
      states.push(state);
  }

  // Turn the array of state images into a collection
  return ee.ImageCollection(states);
}

// Run Game of Life to create an Image Collection of states
var states = runGameOfLife(100);

// Set up the GIF parameters. Make sure to create a `geometry` polygon that covers a large enough area to grab a reasonable number of pixels.
var gifParams = {
  region: geometry,
  dimensions: 500,
  framesPerSecond: 12,
  crs: "EPSG:3857"
};

// Create the animated thumbnail
var thumb = ui.Thumbnail({
  image: states,
  params: gifParams
});

// Add the GIF to the map
Map.add(thumb);
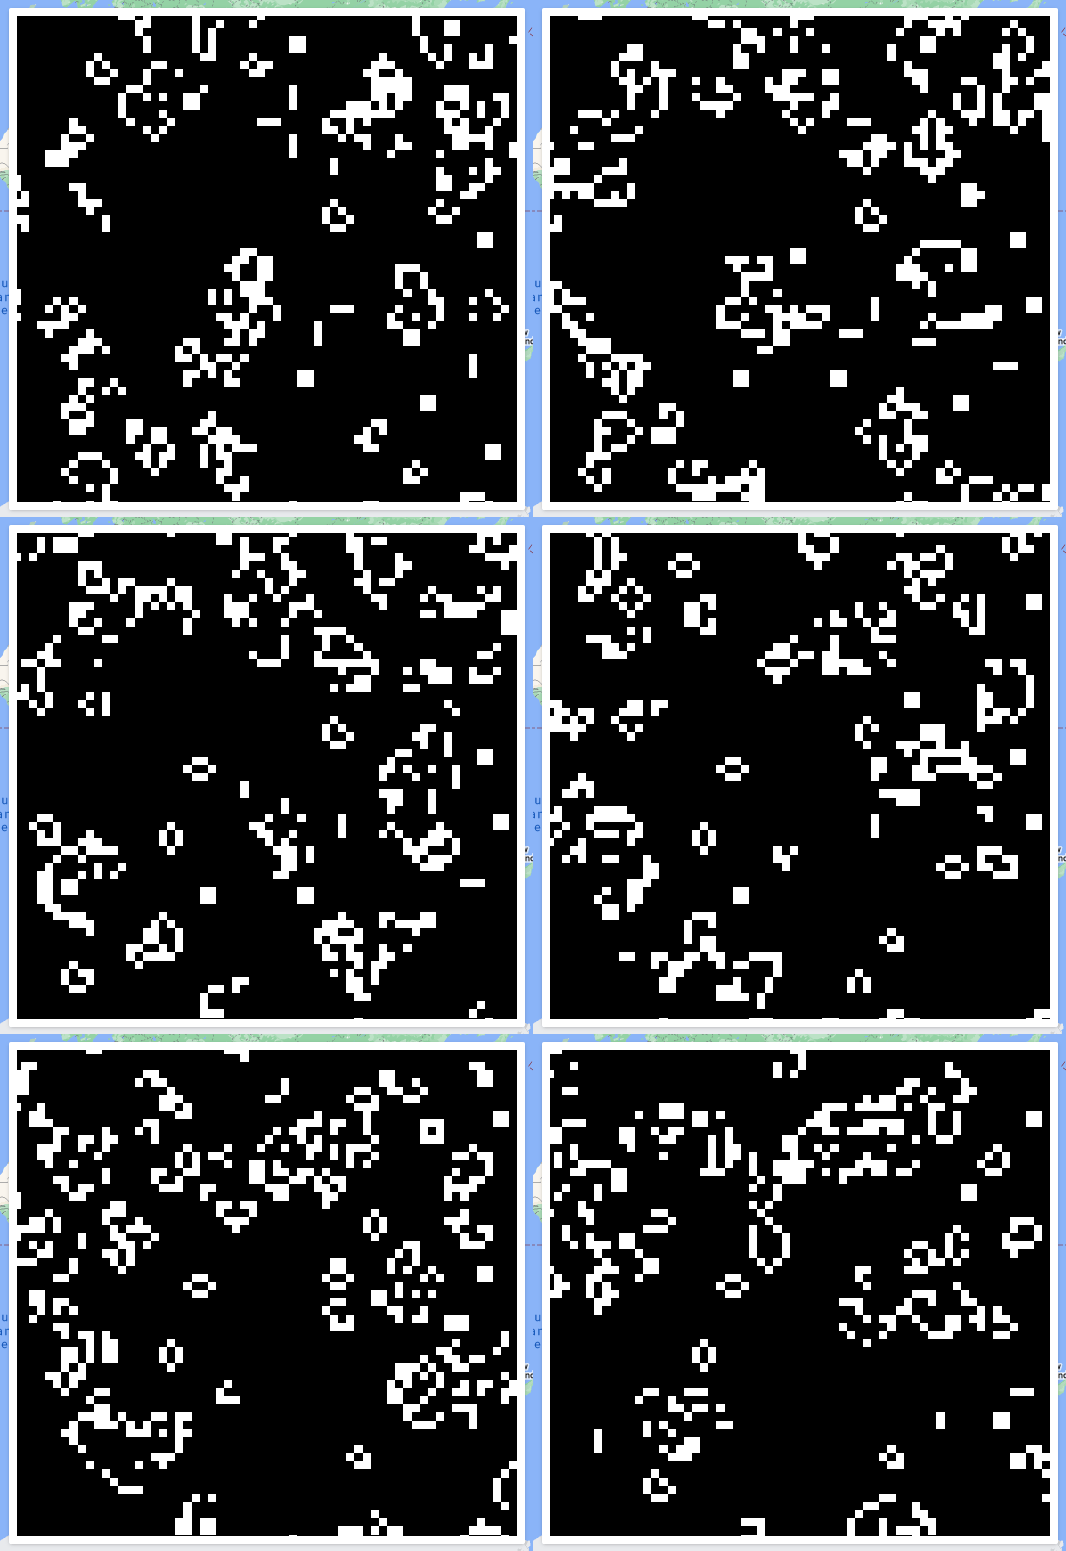
You can load the script above here. The output should look something like this:

For fun, try playing around with the region and crs in the gifParams. The GIF at the top of this post was creating using crs="EPSG:5070" with a larger region. You can also experiment with using real-world data to initialize the cell states!